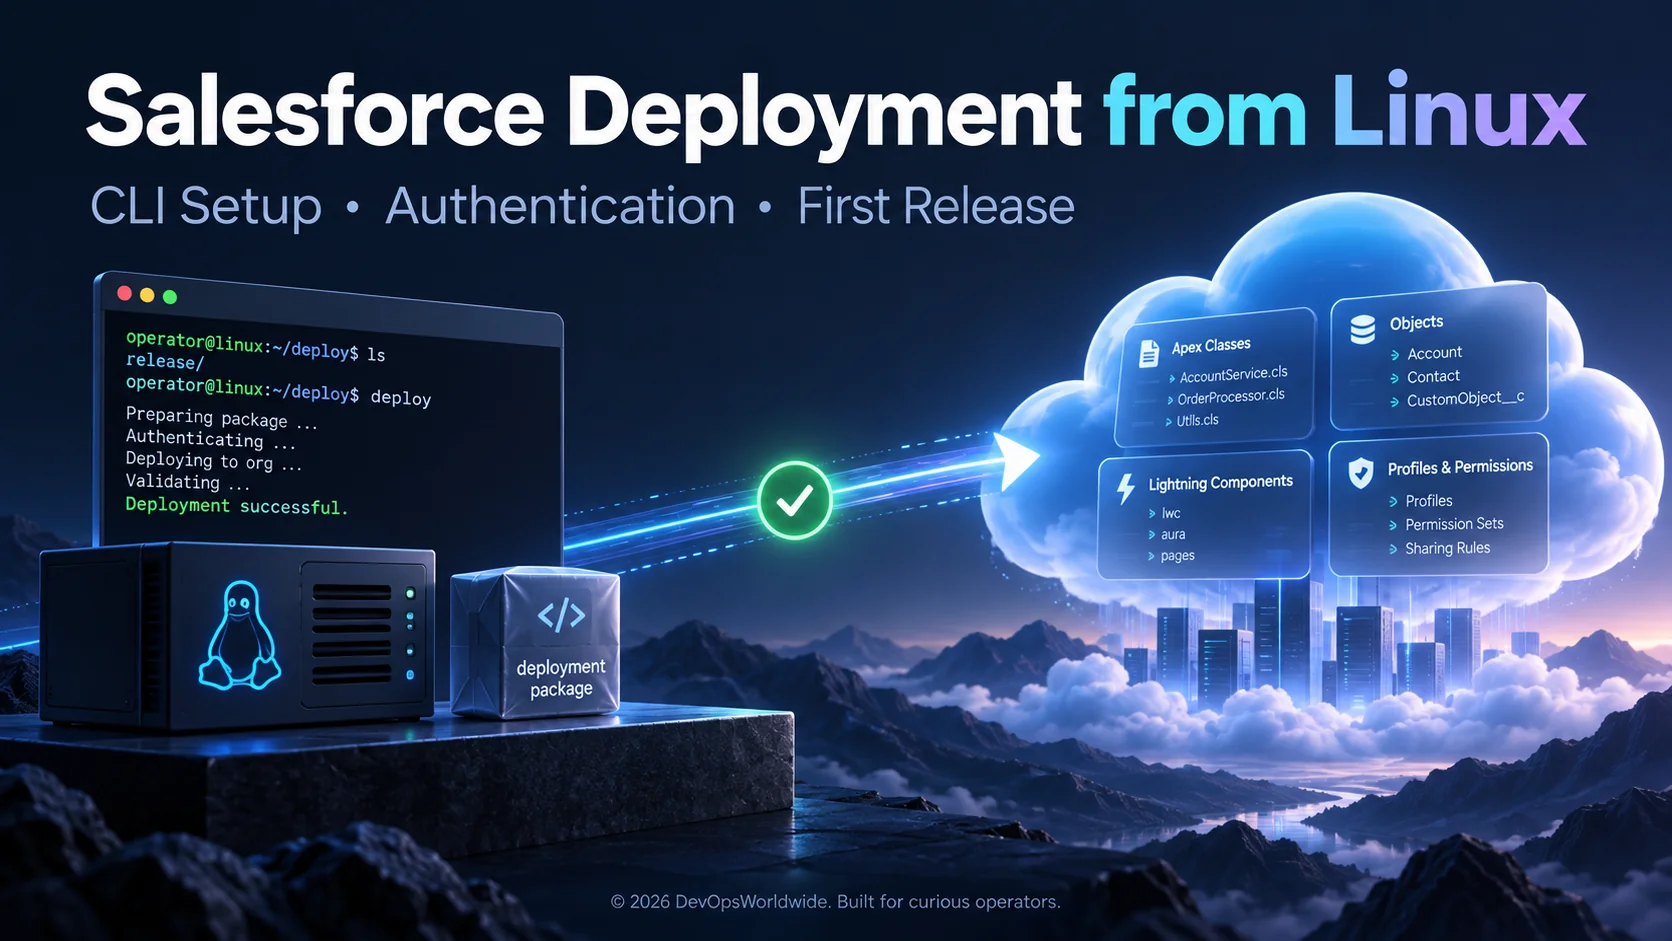
Your team has a Linux server, a Salesforce sandbox, and its first set of changes to release. The goal is straightforward: make that server a reliable place to authenticate, validate, deploy, and record the result.
First, establish what lives where. Salesforce runs in Salesforce’s cloud. The Linux server runs your deployment tools. You do not install Sales Cloud, Service Cloud, or the Salesforce database on that machine. Your code and configuration are deployed to a Salesforce org, the cloud environment that contains your application and data. Salesforce describes this hosted model in its platform overview.
This walkthrough uses a native Linux server and a Salesforce sandbox. You will deploy a small Apex class, its test class, and an explicit metadata manifest. The example creates no business records and requires no sample customer data.
The commands are based on current Salesforce documentation. They have not been executed against a Salesforce org during preparation of this article; authentication, Apex compilation, and deployment results must be checked in your own practice environment.
The deployment path
Version-controlled Salesforce project
                  |
                  v
Linux server: Salesforce CLI + protected credentials
                  |
                  v
Salesforce sandbox: validate --> deploy --> verify
                  |
                  v
Approved release: production validation --> production deployment| Term | Meaning in this guide |
|---|---|
Salesforce CLI (sf) |
The command-line client running on Linux. |
| Metadata | Application definitions such as Apex classes, objects, fields, and permission sets. |
| Apex | Salesforce’s server-side programming language; it executes in the org. |
| Sandbox | An isolated Salesforce environment for development and testing. |
| Manifest | A package.xml file naming the components included in a release. |
Metadata deployment and data migration are separate jobs. Moving a class does not copy Accounts or Contacts, populate an integration’s secrets, or prove that a user’s business workflow works.
1. Prepare the Linux host and target org
Use an Ubuntu or Debian-based x86-64 server for these commands, Bash, and a dedicated non-root operating-system user. The server needs DNS resolution and outbound HTTPS access to Salesforce and the CLI download host. JWT authentication does not require an inbound web server.
Ask your Salesforce administrator for a sandbox and a dedicated deployment user with an appropriate license. API access, metadata deployment permissions, and the permissions required for Apex operations must match the work being performed. For Metadata API access, Salesforce documents API Enabled and Modify Metadata Through Metadata API Functions or Modify All Data; additional component-specific permissions may apply. Metadata API prerequisites.
Before continuing, record the expected sandbox name, org ID, username, and My Domain login URL. An alias is a convenient label, not proof that you selected the right org.
Install the operating-system prerequisites:
sudo apt-get update
sudo apt-get install -y ca-certificates curl git xz-utils openssl jq
uname -m
If the architecture is aarch64, use the ARM64 CLI archive in the next step. These commands are for a native Linux host; the local Windows shell uses different installation steps.
2. Install Salesforce CLI under the deployment user
Use the official TAR distribution. The example below downloads the stable x86-64 build and extracts it into a user-owned directory:
mkdir -p "$HOME/.local/share/salesforce-cli"
curl --fail --location --output /tmp/sf-linux-x64.tar.xz \
  https://developer.salesforce.com/media/salesforce-cli/sf/channels/stable/sf-linux-x64.tar.xz
tar -xJf /tmp/sf-linux-x64.tar.xz \
  -C "$HOME/.local/share/salesforce-cli" --strip-components=1
export PATH="$HOME/.local/share/salesforce-cli/bin:$PATH"
sf --version
sf commands
Add the same PATH entry to the deployment user’s shell configuration. A CI runner may not read that file, so set PATH explicitly in its job configuration too.
The stable URL changes over time. Record the resolved CLI version; for a repeatable pipeline, use a reviewed versioned archive from Salesforce’s build manifest and promote CLI upgrades through testing. Avoid mixing multiple installation methods on the same host. Official CLI installation guide.
3. Configure authentication for a server without a browser
JWT bearer authentication lets the Linux server authenticate as the deployment user using a private key and an approved application. It avoids an interactive browser login for each run.
Create a practice signing key and certificate outside the project checkout. Run this only when those files do not already exist:
umask 077
install -d -m 700 "$HOME/.config/sf-deploy"
if [ -e "$HOME/.config/sf-deploy/server.key" ] || \
   [ -e "$HOME/.config/sf-deploy/server.crt" ]; then
  printf 'Existing key material found; reuse or rotate it deliberately.\n'
else
  openssl req -x509 -newkey rsa:2048 -sha256 -nodes \
    -keyout "$HOME/.config/sf-deploy/server.key" \
    -out "$HOME/.config/sf-deploy/server.crt" \
    -days 365 -subj '/CN=sf-linux-deployment-lab'
fi
The private key is unencrypted so unattended tooling can read it. Protect it with filesystem permissions and, in CI, a secret store. The certificate is the public part uploaded to Salesforce. Track its expiry and plan rotation.
In the target sandbox, have an administrator follow Salesforce’s External Client App setup:
- Open Setup → App Manager and create an External Client App.
- Enable OAuth and supply the CLI callback URL,
http://localhost:1717/OauthRedirect, in the app configuration. JWT login itself does not open that browser callback. - Configure the CLI scopes from the guide:
api,web, andrefresh_token, offline_access. - Enable JWT Bearer Flow and upload
server.crt. - Set permitted users to Admin approved users are pre-authorized, and authorize the deployment user through the appropriate permission set or profile.
- Review token lifetime and session policies with your administrator. The linked Salesforce guide recommends a maximum refresh-token lifetime of 90 days and a 15-minute session timeout. Set these policies to match your organization’s requirements; JWT authentication does not itself issue a refresh token.
- Copy the application’s Consumer Key, which becomes the CLI client ID.
Existing installations may already use a Connected App. For a new setup, follow the current External Client App instructions; some command-reference descriptions still use the older terminology. The client ID must belong to the application configured for your target org.
Read your actual values into the shell, then authenticate:
read -r -p 'Sandbox My Domain URL: ' SF_INSTANCE_URL
read -r -p 'Deployment username: ' SF_USERNAME
read -r -p 'External Client App Consumer Key: ' SF_CLIENT_ID
export SF_INSTANCE_URL SF_USERNAME SF_CLIENT_ID

sf org login jwt \
  --client-id "$SF_CLIENT_ID" \
  --jwt-key-file "$HOME/.config/sf-deploy/server.key" \
  --username "$SF_USERNAME" \
  --instance-url "$SF_INSTANCE_URL" \
  --alias sf-lab
A sandbox My Domain URL typically resembles https://yourdomain--yoursandbox.sandbox.my.salesforce.com. Use the exact URL supplied by your administrator. The JWT login reference documents these flags and URL formats.
Confirm the destination without printing access tokens:
sf data query --target-org sf-lab \
  --query 'SELECT Id, Name, IsSandbox FROM Organization'
Compare the returned ID with the intended org and confirm IsSandbox is true. A Developer Edition org is another practice option, but it uses its own login URL and is not reported as a sandbox. Resolve any mismatch before deploying.
4. Create a small project with an explicit release scope
Create a fresh project directory so the tutorial cannot overwrite an existing application:
sf project generate --name linux-first-deploy --manifest
cd linux-first-deploy
API_VERSION=$(jq -r '.sourceApiVersion' sfdx-project.json)

sf apex generate class --name DeploymentGreeting \
  --output-dir force-app/main/default/classes --api-version "$API_VERSION"
sf apex generate class --name DeploymentGreetingTest \
  --output-dir force-app/main/default/classes --api-version "$API_VERSION"
The class generator creates both .cls and .cls-meta.xml files. Keep both files for each class. Confirm that the project’s API version is supported by the target org; use the same supported version in the project, class metadata, and manifest. The Salesforce template plugin reference documents these generators and aliases.
Replace the generated body of force-app/main/default/classes/DeploymentGreeting.cls with:
public with sharing class DeploymentGreeting {
    public static String greet(String name) {
        if (String.isBlank(name)) {
            return 'Hello, Salesforce!';
        }
        return 'Hello, ' + name.trim() + '!';
    }
}
Replace force-app/main/default/classes/DeploymentGreetingTest.cls with:
@IsTest
private class DeploymentGreetingTest {
    @IsTest
    static void greetsANamedDeployer() {
        System.assertEquals(
            'Hello, Linux deployer!',
            DeploymentGreeting.greet(' Linux deployer ')
        );
    }

    @IsTest
    static void handlesMissingNames() {
        System.assertEquals('Hello, Salesforce!', DeploymentGreeting.greet(null));
        System.assertEquals('Hello, Salesforce!', DeploymentGreeting.greet('   '));
    }
}
The tests check the named, null, and blank-name paths without depending on org data. This is a deployment exercise, so the class intentionally does not query records or expose a UI.
Replace the generated manifest with these two named members:
cat > manifest/package.xml <<EOF
<?xml version="1.0" encoding="UTF-8"?>
<Package xmlns="http://soap.sforce.com/2006/04/metadata">
    <types>
        <members>DeploymentGreeting</members>
        <members>DeploymentGreetingTest</members>
        <name>ApexClass</name>
    </types>
    <version>${API_VERSION}</version>
</Package>
EOF
The manifest makes the initial release easy to inspect. For a real project, include required dependencies and review changes to existing components. A metadata deployment can overwrite the corresponding target configuration.
5. Validate in the sandbox before applying changes
Run a test-backed dry run from the project root:
sf project deploy start --target-org sf-lab \
  --manifest manifest/package.xml \
  --dry-run --test-level RunSpecifiedTests \
  --tests DeploymentGreetingTest --wait 20
A dry run checks the proposed deployment without saving the metadata. Check the component results and test failures; correct the source and repeat if necessary. The CLI’s dedicated project deploy validate command is intended for production validation; Salesforce recommends project deploy start --dry-run for sandbox validation. Validation command guidance.
Choose tests deliberately. RunSpecifiedTests requires the executed tests to cover at least 75% of each deployed Apex class and trigger individually. Broader releases may call for RunLocalTests to detect interactions elsewhere in the org. Passing a percentage alone does not establish that the feature behaves correctly. Deployment test levels.
6. Deploy the same source and confirm completion
After a successful dry run, deploy the unchanged project:
sf project deploy start --target-org sf-lab \
  --manifest manifest/package.xml \
  --test-level RunSpecifiedTests \
  --tests DeploymentGreetingTest --wait 20
Save the deployment job ID. If the CLI stops waiting, that does not necessarily mean the server-side operation failed. Query the same job instead of submitting another deployment:
read -r -p 'Deployment job ID: ' DEPLOY_JOB_ID
sf project deploy report --target-org sf-lab \
  --job-id "$DEPLOY_JOB_ID" --wait 20
Require a terminal successful status and passing tests before marking the release complete. A queued or in-progress job is still unfinished. The report command can poll an existing deployment.
Verify the classes under Setup → Apex Classes and inspect Setup → Deployment Status. For a tiny functional check, create and run an anonymous Apex script:
mkdir -p scripts/apex
cat > scripts/apex/check-deployment.apex <<'EOF'
System.assertEquals(
    'Hello, Linux deployer!',
    DeploymentGreeting.greet('Linux deployer')
);
System.debug(DeploymentGreeting.greet('Linux deployer'));
EOF
sf apex run --target-org sf-lab --file scripts/apex/check-deployment.apex
The expected result is successful execution and a debug message containing Hello, Linux deployer!. This is an expected result, not an observed deployment from this article. Anonymous Apex requires appropriate access; it is a developer smoke check rather than an end-user acceptance test. Apex execution reference.
7. Turn the practice flow into a release routine
A useful Linux deployment job follows a short sequence:
- Check out the reviewed Git commit and record its SHA.
- Select a known CLI version and inject credentials through the runner’s secret store.
- Authenticate and verify the target org ID.
- Validate the manifest with the appropriate tests.
- Deploy the same reviewed source and capture the final deployment result.
- Run smoke checks and retain the commit, org ID, job ID, CLI version, and test report.
For shared or ephemeral runners, isolate each job’s working directory and CLI authentication state. Restrict access to the deployment user’s home directory, where the CLI stores authorization information. Do not archive .sf, .sfdx, private keys, or authentication output as public build artifacts. Avoid shell tracing around authentication steps.
A Linux job’s exit status must reflect the Salesforce result. If you add tee to retain console output, enable set -o pipefail so a successful logging command cannot hide a failed deployment. Treat timeouts as an unfinished operation that needs a job-status check.
When the release is ready for production, authenticate a separate production alias and verify its org ID. An example promotion path is:
sf project deploy validate --target-org sf-prod \
  --manifest manifest/package.xml --test-level RunLocalTests --wait 60

# After successful validation and the production release approval:
read -r -p 'Successful production validation job ID: ' VALIDATION_JOB_ID
sf project deploy quick --target-org sf-prod \
  --job-id "$VALIDATION_JOB_ID" --wait 60
Use the exact validated job ID from that production org. Quick deploy applies the validated payload and skips rerunning its tests; it does not pick up later local edits. The job is eligible for use for 10 days from validation start, provided validation succeeded and quick-deploy requirements are met. Revalidate if the release changes. Quick-deploy reference.
Common first-deployment problems
| Symptom | What to inspect |
|---|---|
sf: command not found |
The deployment user’s PATH, including the CI job’s non-interactive environment. |
| CLI cannot execute | Download architecture, executable permissions, and Linux runtime prerequisites. |
| JWT authentication fails | Client ID, exact username, uploaded certificate/private-key match, certificate expiry, and host clock. |
| User is not approved for the app | External Client App policies and the deployment user’s assigned profile or permission set. |
| API or metadata access is denied | User license, API access, deployment permissions, and org security policies. |
| Unsupported API version | Project, class metadata, and manifest versions compared with the target org. |
| Missing component or dependency | Manifest members, local source files, target features, and referenced metadata. |
| Apex test or coverage failure | The specific failing assertions, deployment test level, and coverage report. |
| Wait period expires | The original deployment job status; do not assume a rollback or retry blindly. |
| Deployment succeeds but a user cannot use the feature | Apex class access, permission-set assignment, dependencies, and user-level smoke tests. |
Keep TLS verification enabled when investigating proxy or certificate issues. Configure the approved trust chain and network access rather than disabling certificate checks.
Plan recovery before the first real release
Keep the previous application source and a record of the target’s current metadata before changing an existing system. If a successful release needs reversal, review and deploy the earlier version, accounting for changes made since that version was captured.
A Git revert alone does not change the Salesforce org. Redeploying an older manifest also does not automatically remove newly introduced metadata. Deletion requires a separate, reviewed destructive-change plan, and data changes can need their own recovery procedure.
For this isolated exercise, remove the two practice classes through your approved sandbox cleanup process when no longer needed. Log out the lab alias with sf org logout --target-org sf-lab, retire the practice application’s authorization when appropriate, and remove its private key through your normal secret-retirement process. Deleting the Linux project folder does not remove deployed Salesforce metadata.
Your first release is complete when you can identify the source commit, target org, test outcome, deployment job, and functional verification. Those records make the next release easier to operate and troubleshoot.
Thank you
Thank you to Nikita Raut, Salesforce Developer, for her contribution to this article. We appreciate her support in sharing practical Salesforce knowledge with the DevOpsWorldwide community.